Sunday, October 27, 2013

Triple Threat Chocolate Chip Cookies


These are cookies that are best served warm straight out of the oven!!!


Preheat Oven to 350 degrees while you get the following ingredients together:


2 1/3 c. flour
3/4 c. Hershey's Cocoa
1 tsp. baking soda
1 tsp. salt
1 c. granulated sugar
1 c. PACKED brown sugar
1 c. white chocolate chips
1 c. milk chocolate chips
1 c. semi-sweet chocolate chips
1 tbsp. vanilla
1 extra large egg or 2 small
2 tbsp. half and half
2 1/2 sticks of butter

I like to sift the cocoa, as well as the flour, to ensure there are no lumps!Add the salt and baking soda to the                                                     flour and cocoa. Mix well and set aside.

                                Next, combine the butter and sugars and mix until light and fluffy.

                                                   At this time, add the egg and vanilla.

Ready to add the dry mixture.  This should be done gradually. The consistency  will be heavy and dense.
When the dry is combined with the butter mixture, add a few tablespoons of half and half. It will make it a little creamier, too. Now, the fun part, slowly add the chocolate chips!!


I am fortunate enough to have a little helper!!!  This is an awesome recipe for kids to get involved with.  When all of the chips have been added, it will end up accumulating all around the batter bar if you are using an electric mixer.  Take a spoon or a rubber spatula and remove all of it.

With a scoop or spoon, form into balls and place on a cookie sheet lined with parchment paper. 
If you do not have parchment, no worries, I just find it also saves time in the cleanup process!!
 The final step is sprinkling the top with a little sugar and pressing them down with a glass.  Bake at 350 for 15 minutes!!!  


The recipe will yield 2 1/2 dozen of the yummiest cookies you'll ever eat if you are a chocolate lover!! Our daughter, Tara, who is very fussy about her food, said they are the best cookies she's ever eaten. WOW!
Like I said at the outset, they are best served warm and with a cold glass of milk!! They reheat nicely in the microwave for about 5-10 seconds!!  

Enjoy!!!
I hope they work for you!! 

Friday, October 18, 2013

Pumpkin Bars with Cream Cheese Frosting

Everywhere we go, we are saturated with pumpkin recipes this time of year.  Well, here's another one!  I've been making these for over 10 years and they are incredibly delicious.  Even though they are technically called a 'bar', I find them to be a cross between a brownie / piece of cake. Let's get started. Preheat your oven to 350 degrees and gather the following ingredients:

                                                                       4 Eggs
                                                                   1 2/3 c. sugar
                                                                  1 c. canola oil
                                                          1  can of One Pumpkin Pie
                                                                       2 c. flour
                                                               2 tsp. baking powder
                                                                 1 tsp. baking soda
                                                                    1 tsp. salt
                                                                  2 tsp. cinnamon


                                    Mix eggs, sugar, oil, and pumpkin until smooth and creamy.


It is a good idea to crack the eggs individually before putting them into the mixture.  It would be a shame to spoil the entire batch due to one bad egg entering the mix.  I am fortunate enough to have my own chickens that lay fresh eggs.  It is very rare for me to have any that are spoiled.  I'll talk more at some point about the benefits of buying fresh eggs.


 In a separate bowl, mix the remaining dry ingredients.  It's important that you mix these thoroughly to properly distribute the baking powder and soda throughout the flour. Also, remember to measure EXACTLY when baking.  This is so important and many fail to do so.  I was one of those people who learned the hard way.

Gradually add the dry ingredients to the wet and mix on medium for until it is well blended.  Spray TWO 8x8 square baking pans with canola oil and pour the batter evenly among the two.  Bake at 350 degrees for 25-30 minutes.
 While the bars are baking, gather the following for the cream cheese frosting. It's very basic.
                                                         3oz. cream cheese
                                                1 lb. package of confectioners sugar
                                                         1 stick of butter
                                                          1 tsp. vanilla
                                                      2 tbsp. half and half
Beat the cream cheese and butter. Slowly add the confectioners sugar.  Finally, add the half and half  along with the vanilla.

Let the bars cool for at least an hour before frosting. Finish by sprinkling cinnamon over the top.


 It yields two pans which is great if you need to bring one to a party because you'll have one for you waiting at home! 
 
                                                   Farm Fresh Eggs vs. Store Bought
                                                                        
Which egg is farm fresh? If you choose the one on the right, you are correct.  I know many people can't afford to buy farm fresh or have access to them.  However, if you do, you will notice some stark contrasts.  First, the average egg in the grocery store is about two weeks old before it hits the shelves.  The older the egg, the less nutrients and richness it possesses. Second, the taste is RICHER.  The texture is richer as well. The richer the egg, the less you'll use.  If a recipe calls for 2 eggs, you can easily get away with using only one farm fresh. Considering that, the cost actually evens out almost.  Just wanted to add a little FYI to the blog with these tidbits on eggs.  In closing, here a few pictures of our laying hens.


Wednesday, October 9, 2013

Portabella Mushroom Burgers

As a lover of a traditional hamburger, it was hard for me to imagine that I could find a healthy, equally satisfying alternative.  Especially if it meant eating mushrooms!!!  I was raised on basic recipes with meat and potatoes.  I thought I was adventurous when I tried broccoli for the first time at 20 years of age!!  Mushrooms were from another planet in my mind.

Like many, with age I became more inclined to try new things.  This should be encouraging to any parents out there who have finicky eaters!!  They won't be like this forever.

I've been trying to be healthier by eating healthier for the past year.  One of my favorite discoveries was leaving the 890 calorie cheeseburger and replacing it with the 235 calorie portabella mushroom burger.  Not only is chocked full of flavor,  it also has approx. 12 grams of protein!!!  Filling and delicious!! Easy to make, too!!
First, a money saving tip....I love giving at least one great way to save with every recipe!! Do NOT buy your mushrooms prepackaged in the produce section of the grocery store!  Most stores sell them individually in bulk.  The difference will make your jaw drop!!  $9.31 lb vs. $4.99 lb.  Crazy!!!!!

Back to the burgers, take a damp (not soaking wet) napkin and wipe off  the mushrooms.  Turn them over and scoop out the gills and the stem.  Some may want to leave the gills, but I find that makes them a little too muddy tasting for me.  I finish them by taking a paring knife and cutting off any ragged edges.  The ragged edges can be used for something else simply by putting them aside in their own separate container. 

Using a pan lined with a paper towel, place the cleaned mushrooms and pour worcestershire sauce on the tops generously without drowning them.Salt and pepper, too. Mushrooms absorb like a sponge, too much liquid and you'll have just that...a soggy sponge!! That would be nasty!!


 While the mushrooms are getting acquainted with the worcestershire sauce, start cutting your vegetables and heating your grill or frying pan.
My favorite toppings for this burger are grilled onions, roasted red peppers, tomatoes, and spring mix greens. The combo is awesome, but use whatever your taste buds cry out for.
Grill the mushrooms for 6 minutes on each side.  At this time, place your cheese (my favorite is swiss 1/2 slice) and put the bun on the grill.  I use a whole wheat roll that is 160 calories. The cheese is about 60 and then I allow a 15 calorie allowance for the canola oil spray I surface my grill with.  The biggest mistake I've seen people make with these types of burgers is saturating the veggies in oil which totally defeats the purpose of the healthy alternative to a beef burger!! A little spray of canola will allow everything to taste great!! If you choose to add mustard, ketchup, or mayo but remember that will be added calories. I find you don't really need them.

I'm not going to lie, if you are not accustomed to eating mushrooms, the texture will take a little getting used to.  I have a friend, Amber, who would never try these because of the word 'mushroom'!!  If you have that type of a friend or family member, just avoid using that 'word' and tell them it's a veggie burger!! You aren't lying that way!!  Plus, with all of the other yummy things under the bun, I doubt they would even notice.
In closing, who would ever believe that this fist full of satisfaction is only 235 calories and good for you???


Friday, October 4, 2013

Honey White Bread or Rolls


The first time I ever made bread was a few years ago.  A friend had given me a bread maker and I needed to at least try it .  Much to my surprise, I really loved it! However, I found myself frustrated that the loaves were small and I could only make one loaf at a time.

I decided to try making it on my own.  It was around the time of our wedding anniversary, so my husband insisted we treat ourselves to a Kitchenaid Mixer.  We wanted one for years, but never felt comfortable spending the extra money when we had several children at home.  My husband, David, has worked in the food industry for the past 30 years so it was as much of a gift to him as it was to me.  Many women would love to have a hubby who gets excited about mixers, blenders, food processors, etc.! His biggest downfall is that he doesn't possess the word 'small' in his vocabulary.  I would have settled for the 4 qt. mixer, but we ended up with the 6 qt. Professional Series. Go big or go home!! Word of advice, this one is actually too big!!!  We love it regardless. I can make up to 4 loaves at one time with this size.

Today, I am making my honey white bread.  It's very easy and will yield two nice loaves.

                                                               Ingredients:
                                                             1/2 tsp. Salt
                                                           2 packets of Yeast
                                                          1 1/2 tbsp. Honey
                                                             1 tbsp. Sugar
                                                          3/4 Stick of Butter
                                                        1/2  c. WARM Water
                                                      1 1/2 c. WARM Milk
                                                               3 Egg Yolks
                                                               6 c. Flour

The first thing you will want to do is warm your mixing bowl with warm water while you measure out all the ingredients.

Dump out the water and add 1/2c. WARM Water to the bowl, followed by the yeast and sugar. Whisk it together until it is frothy.  This activates your yeast mixture.  It should look like this below.  Let it set for 5 minutes.


                                 Now add the butter, egg yolks, salt, WARM milk , and honey
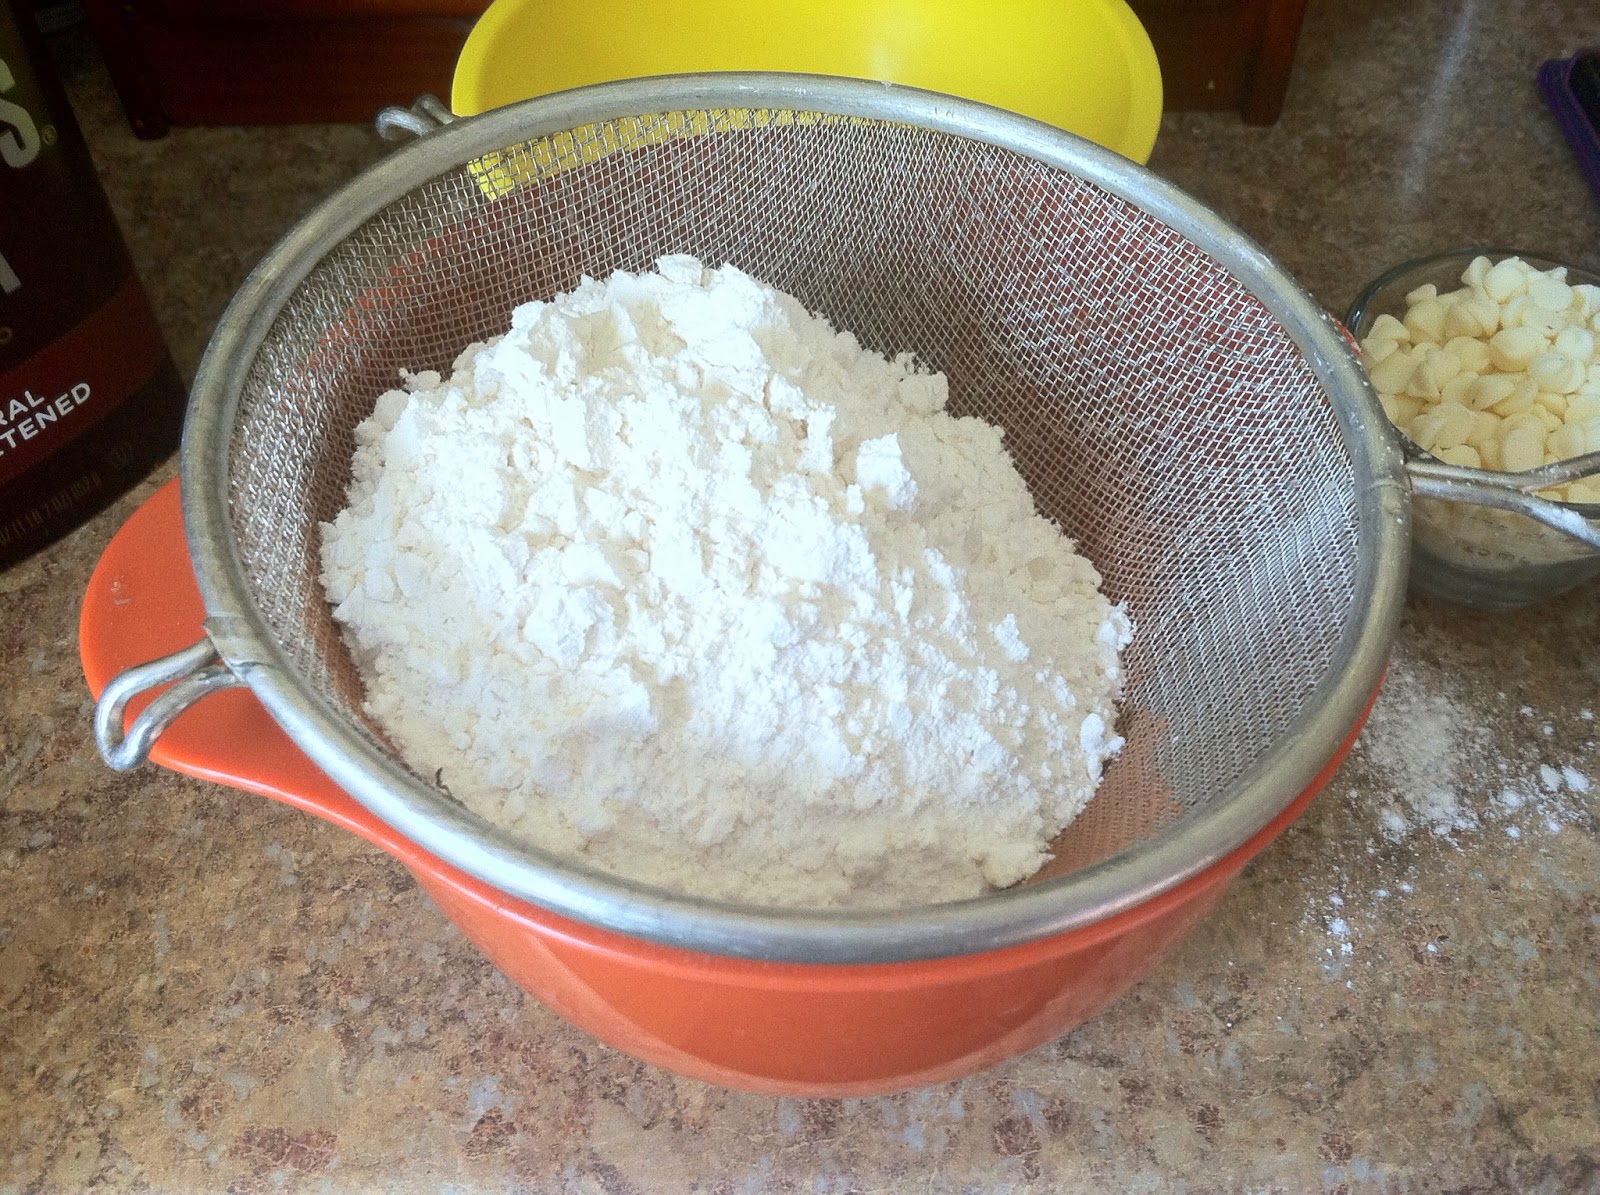
                   Turning the mixer on slow, add three cups of the flour and mix on med for 5 minutes.

Add the remaining flour and mix for an additional 8 minutes.  The dough will start forming and taking shape.  Be patient and make sure you use every second of the 8 minutes..

                      Remove the dough from the dough hook and place onto a well-floured surface.

Hand knead the dough for 5 minutes shaping it into a well rounded ball.  Spray a bowl with canola oil and      place the dough inside. Cover it with a damp cloth and let  it rise for 1 hr.


If you do not have an electric mixer, you can hand knead the dough as well. It takes more effort, but that's how our grandmothers did it back in the day!! This is one of my favorite parts of bread making, watching it rise!!!  After an hour, when you remove the dishcloth, you should find this..
Wow!!!! It should at least double in size!!  Now, we need to hand knead it one more time!  Roll and shape into a nice square and cut down the middle.  Then, place each loaf into a greased 9x5 loaf pan. Cover and let rise for another hour.  If you wanted to make rolls, divide the dough four ways, roll into strips and cut them into 1 1/2" pieces. Roll in hands to form a ball.
One note about yeast. If you decide you want to make bread on a regular basis, buy yeast in bulk!!  Individual packets are fine for someone who only bakes once in a blue moon, but you will save $$ if you buy a large package.  Store it in a tightly closed container and it will last a long time.

                                         Now they are ready to bake @ 350 degrees for 40 minutes
       Brush them with an egg wash consisting of one egg white mixed with a teaspoon of sugar as the last
         step before putting them in the oven!
Considering the average cost of a decent loaf of bread is around $3.50-$4.00, you can make your own for
under 75 cents. That's amazing.  While it may seem like it's time consuming, I try to make it on the day I clean my house. The total prep time is under 30 minutes, the rest is just waiting for it to rise.

I add Italian seasoning and garlic for an awesome garlic bread.  You can throw shredded cheddar cheese on the top if you really want to get fancy.

I've also used sundried tomatoes with this recipe.  Instead of using loaf pans, I formed them into round breads.

I love the smell of fresh bread baking.  I wish I would have learned this years ago when my children were young.  It's never to late to learn something new and very happy I did!! Try it and let me know what you think!!!


Chocolate Chip Cookie Bars

                                                                    With all good intentions, I truly wanted to make a double batch of choco...